Treat the room first, buy in the right order and skip the expensive mistakes. A practical guide to building a home studio on a budget, with sample setups at three price tiers.
Building a home studio on a budget is less about buying the right gear and more about buying things in the right order. Most people starting out spend their money on a fancy microphone or a pair of flashy speakers and then wonder why their recordings still sound boxy and their mixes fall apart in the car. The truth is that the room, your ears and your habits matter more than almost any piece of equipment.
At Fort Never, our music has always been homemade at heart; we describe it as “heavy beats and soft soundscapes,” all produced by Timmie Rook. This guide is not a list of what we own. It is a practical, general guide to what actually matters when you are setting up a home studio with limited money, ordered by priority, with a sample budget at three levels at the end.
Key takeaways
- Fix the room before you upgrade gear; basic acoustic treatment often makes a bigger difference than a new mic.
- An entry-level audio interface from a reputable brand is good enough for professional-sounding results.
- One versatile microphone you know well beats a drawer full of mics you barely use.
- Start with good closed-back headphones; add monitors when your room can support them.
- Your DAW matters less than how well you learn it, and some excellent options are free or cheap.
The priority order that saves money
If you remember one thing from this article, make it this order of spending:
- Your room and how you set it up. Placement and basic treatment.
- Headphones. Something accurate you can trust for tracking and checking mixes.
- An audio interface. Clean preamps and stable drivers, nothing exotic.
- One good microphone. Chosen for what you actually record most.
- A DAW you commit to learning. Possibly free.
- Studio monitors. Once your room can handle them.
- Everything else. Extra mics, plugins, controllers and outboard gear.
This order is not a law, and producers who mostly work in the box with virtual instruments may never need a mic at all. But for anyone who records voices and instruments, it prevents the most common, most expensive mistakes.
Gear can only capture what the room gives it. A great microphone in a bad room just records the bad room in high definition.
Room treatment comes first
Every room has its own sound. Hard, parallel walls bounce sound back and forth and cause flutter echo. Small rooms build up bass in the corners, making some low notes boom while others nearly vanish. When you record in that room, those reflections end up on your tracks. When you mix in it, they lie to you about what your music sounds like.
Start with free fixes
- Pick the right room. A bedroom with a carpet, a bed, a full bookshelf and curtains is often better than an empty spare room with hard floors.
- Use symmetry. Set up your desk so it faces a short wall and sits centered between the side walls, so both speakers interact with the room in the same way.
- Stay out of the corners and off the wall. Pull your listening position and speakers away from walls and corners where bass tends to build up.
- Record vocals away from bare walls. Even facing into a closet full of clothes can deaden a vocal a lot.
Then add basic treatment
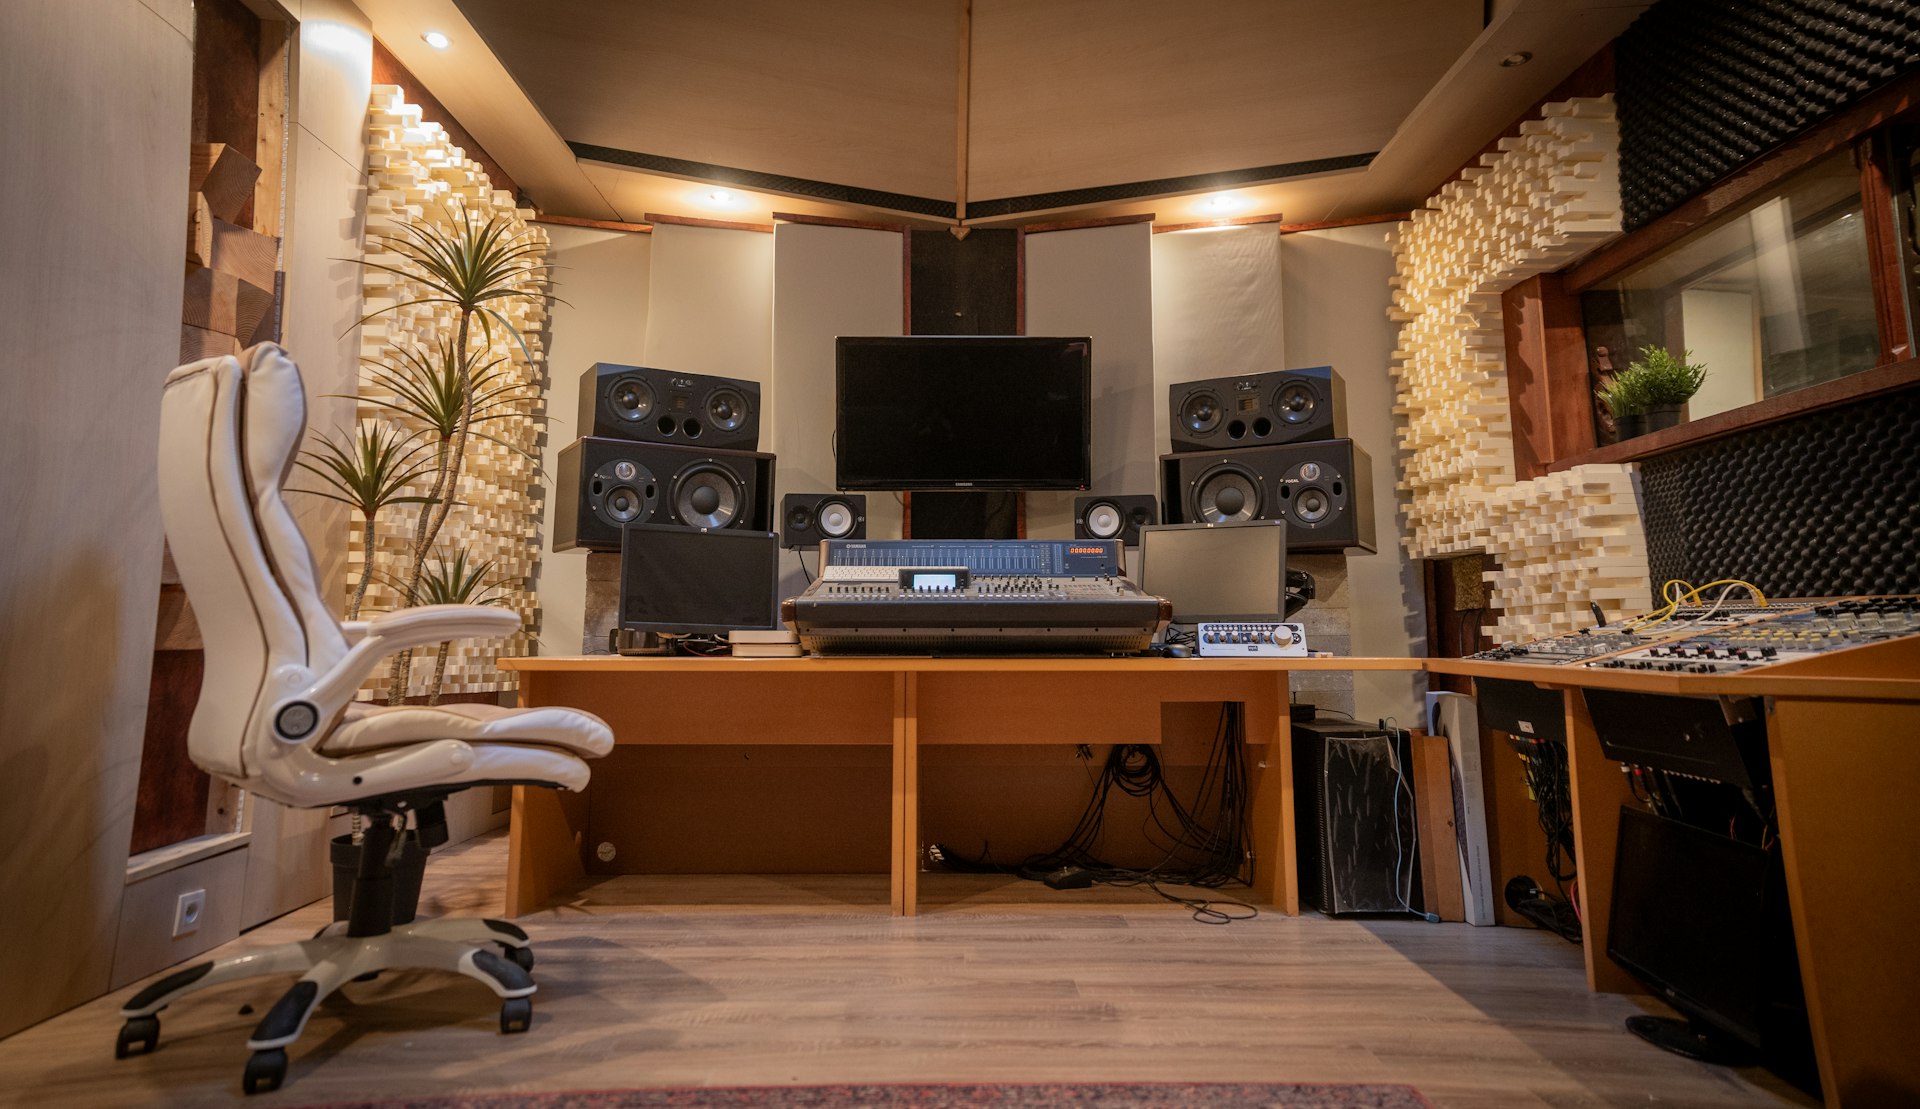
Acoustic treatment does not mean covering every surface in foam. Thin foam tiles mostly absorb high frequencies, which can make a room sound dull while doing little about bass problems. More effective options for most home studios are:
- Broadband absorption panels made of mineral wool or rigid fiberglass in a wooden frame, usually a few inches thick and covered in breathable fabric. Many people build their own for much less than retail.
- First reflection points. Place panels on the side walls and ceiling where sound from your speakers would bounce on its way to your ears. The classic trick is to have a friend slide a mirror along the wall while you sit in the mix position; wherever you can see a speaker in the mirror is a reflection point.
- Bass traps in corners. Thicker panels straddling the corners help tame low-end buildup.
- A panel behind you. Absorption on the back wall reduces reflections bouncing back to the listening position.
Choosing an audio interface
An audio interface connects microphones and instruments to your computer, converts analog sound to digital and back, and powers your headphones and monitors. The good news: entry-level interfaces from established brands like Focusrite, PreSonus, Audient, MOTU, Universal Audio and others are capable of very good results. The difference between a budget interface and a high-end one is real, but it matters far less than your room, your performance and your mic placement.
What to look for
- Input count. Two inputs are enough for most solo artists and duos: a vocal and a guitar, or a stereo keyboard. If you want to track a drum kit with multiple mics, you will need more.
- Phantom power. Required for condenser microphones; most interfaces include it.
- Instrument (Hi-Z) input. Lets you plug a guitar or bass straight in.
- Stable drivers and low latency. Read recent user reviews for your operating system.
- Direct monitoring. Lets you hear yourself without the delay of going through the computer.
One good microphone
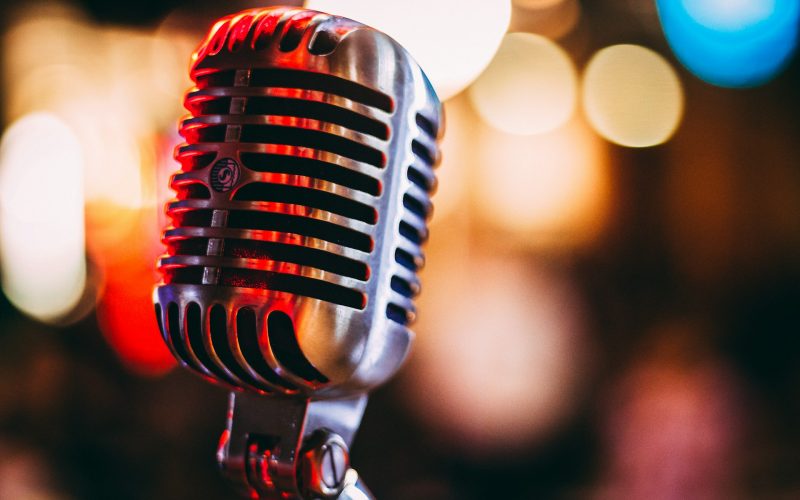
Resist the urge to buy several cheap mics. Choose one that suits what you record most often and learn it inside out.
Dynamic vs. condenser
Dynamic microphones, such as the long-running Shure SM57 and SM58, are tough, affordable and less sensitive to room sound. That makes them a smart choice for untreated rooms, loud sources like guitar amps and drums, and singers with powerful voices. Large-diaphragm condenser microphones, available in many affordable models, capture more detail and air, which can sound beautiful on vocals and acoustic instruments, but they also pick up more of the room. In a poorly treated space, a dynamic mic often produces better results than a condenser.
Placement beats price
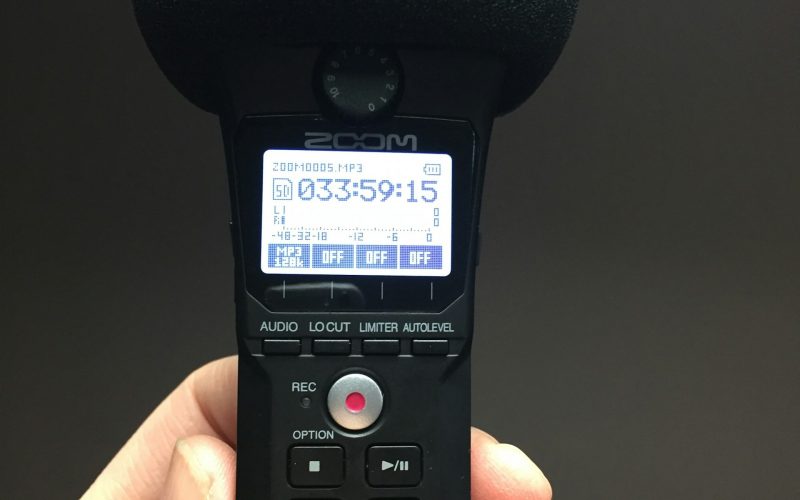
Moving a mic a few inches can change the sound more than swapping it for a model that costs twice as much. Experiment with distance, angle and height, use a pop filter for vocals, and record short tests before committing to a full take.
Headphones vs. studio monitors
Both are useful, and eventually most people want both. But they solve different problems.
| Headphones | Studio monitors | |
|---|---|---|
| Room dependence | Unaffected by your room’s acoustics | Heavily affected by your room |
| Tracking vocals | Essential (closed-back) to avoid bleed into the mic | Not suitable while recording with a mic in the room |
| Stereo image | Exaggerated; panning can sound wider than on speakers | More natural and closer to how most people listen at home |
| Low end | Can be accurate but you do not feel it physically | You feel bass, but untreated rooms distort it |
| Neighbors and late nights | Quiet | Can be a problem in apartments |
| Typical starting cost | Lower | Higher, plus stands or isolation pads |
On a tight budget, start with a pair of well-regarded closed-back studio headphones. Models like the Sony MDR-7506, Audio-Technica ATH-M50x and Beyerdynamic DT 770 have been studio staples for years. Add monitors once you have treated your room at least a little, and when you do, check your mixes on both, plus earbuds, a laptop and a car stereo.
DAW, cables and the small stuff
Choosing a DAW
Your digital audio workstation is where you record, edit and mix. The most popular options all do the job well; the best one is the one you will actually learn deeply.
- Free: GarageBand (Mac), Audacity (basic editing rather than full production) and free versions or tiers offered by some major DAWs.
- Low cost: REAPER is known for a generous evaluation period and an inexpensive license for personal use.
- Paid: Ableton Live, Logic Pro (Mac), FL Studio, Pro Tools, Cubase, Studio One and others, often with cheaper entry-level editions.
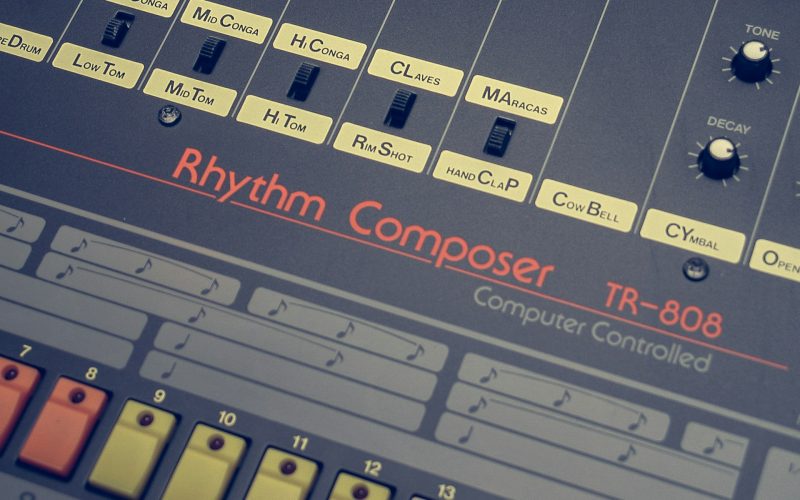
If you make beat-driven music like trip-hop or electronic dub, consider a DAW with a strong workflow for loops and sampling. If you mainly record bands, look for strong audio editing and comping tools. Most offer free trials, so try two or three before buying.
Cables and accessories
You do not need boutique cables, but do not buy the cheapest ones either; flimsy cables crackle and fail at the worst moment. Budget for:
- XLR cables for each microphone
- Instrument cables for guitar, bass or keys
- Balanced TRS cables for monitors
- A sturdy mic stand and a pop filter
- A surge-protected power strip
- A backup drive or cloud backup for your sessions
Sample budgets at three tiers
These ranges are rough, approximate USD estimates for new gear and will change with sales, inflation and new models. Buying used can cut costs significantly. Treat them as a planning guide, not a price list.
| Item | Starter (about $300–$600) | Mid-range (about $800–$1,500) | Serious home studio (about $2,000–$4,000) |
|---|---|---|---|
| Room treatment | DIY placement, blankets, one or two homemade panels | Several DIY or budget broadband panels | Full set of panels and corner bass traps |
| Audio interface | Basic 2-input interface | Higher-quality 2–4 input interface | Multi-input interface with better converters |
| Microphone | One dynamic mic | One dynamic plus one condenser | Small collection for vocals, instruments and drums |
| Headphones | One pair of closed-back studio headphones | Closed-back plus open-back for mixing | Several pairs for musicians tracking together |
| Monitors | Not yet | Entry-level powered monitors | Higher-quality monitors, possibly a subwoofer |
| DAW | Free or low-cost DAW | Low-cost or mid-tier paid DAW | Full version of your chosen DAW plus key plugins |
| Cables and stands | Basics only | Quality cables, stands and pop filter | Full cable kit, stands and backup storage |
Notice that the starter tier leaves monitors out entirely. That is deliberate. A starter studio with treated vocal space, a solid interface, a dynamic mic and good headphones can produce real, release-worthy recordings, and plenty of independent artists have released music from setups like this.
Common mistakes to avoid at any budget
- Buying monitors before treating the room. You will mix to your room’s problems.
- Chasing plugins. A handful of stock plugins used well beats a folder full of downloads.
- Recording too hot. Leave headroom; aim for healthy levels without clipping.
- Skipping backups. Losing a session to a dead drive is painful and avoidable.
- Mixing too loud for too long. Ear fatigue skews your judgment and long exposure to high volume can damage hearing. Work at moderate levels and take breaks.
Once your setup is running, the creative work begins. Our journal pieces on the history of trip-hop and the sound of Fort Never are good next reads if you want ideas about texture, space and slow, heavy beats.
Make something
A home studio is never finished, and that is part of the fun. Start with the room, buy in the right order and spend most of your time making music rather than shopping for it. If you want to hear what homemade, beat-driven music with soft soundscapes can sound like, put on our album Home from the music page. And if you have a project in mind, check out our services or say hello through the contact page.
Frequently asked questions
What should I buy first for a home studio?
Start with your room: choose a good space, set it up symmetrically and add basic acoustic treatment. Then buy closed-back headphones, an entry-level audio interface and one versatile microphone.
Do I need studio monitors or are headphones enough?
Headphones are enough to start, and closed-back models are essential for tracking vocals. Add monitors once your room has some treatment, and check mixes on several playback systems.
How much does a budget home studio cost?
Very roughly, a starter setup might run $300 to $600, a mid-range setup $800 to $1,500, and a serious home studio $2,000 to $4,000. Prices change often, and buying used can save a lot.

Written by Fort Never
Trip-hop, electronic dub and lo-fi folk from Austin, Texas. We write about sound, the Austin scene and the craft of independent music. About the band →